Cloud storage companies want your money. Every month. Forever.
I refused to play that game. Instead, I built my own system using external drives. It takes a bit more work up front. But I own my photos outright, and I’ve saved hundreds of dollars over the past few years.
Here’s exactly how I do it.
Cloud Storage Became a Trap
Google Photos launched in 2015 with a killer promise: unlimited free storage. So I uploaded everything. Thousands of photos and videos, all backed up automatically.
Then 2021 hit. Google pulled the plug on unlimited storage. Suddenly, every new photo chipped away at the measly 15GB free tier. Want more space? Pay up for Google One.
That’s when I realized the trap. Those photos aren’t floating in some magical cloud. They’re sitting on Google’s physical servers. Essentially, I’m renting space on someone else’s computer.
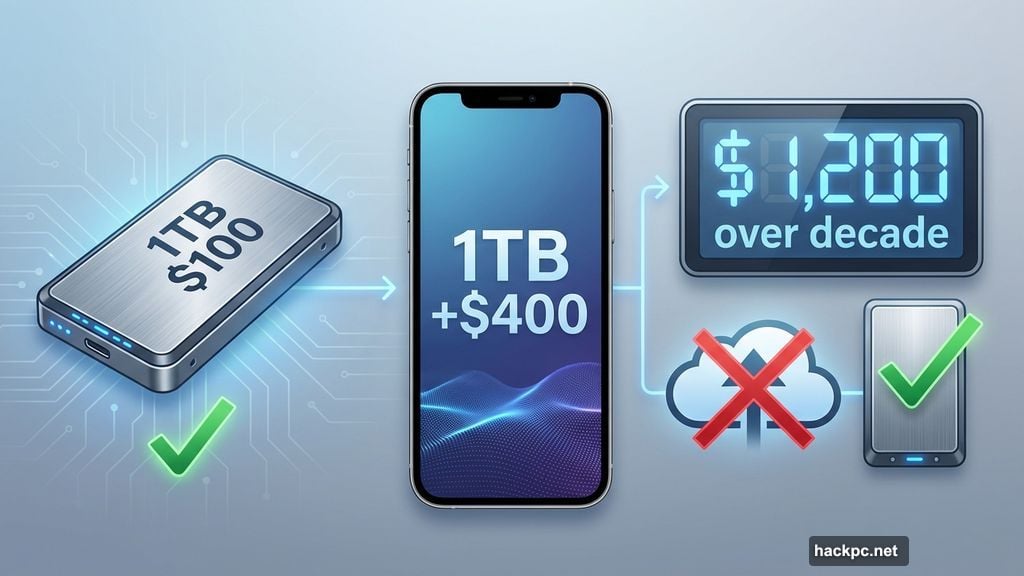
The math made me angry. Ten dollars monthly becomes $120 yearly. That’s $1,200 over a decade. Plus, if I ever stopped paying, Google could lock me out after two years.
I needed a different approach.
External Drives Cost Less Long-Term
My first thought was simple: Buy a phone with massive storage. A 1TB iPhone seemed better than paying Google forever.
But that created new problems. Phones eventually need replacing. My next device would need even more storage to hold all my old files plus new ones.
Moreover, image file sizes keep growing. A 12-megapixel photo takes roughly 2MB. A 24-megapixel shot needs 3MB. Video is worse: one minute of 4K footage can exceed 1GB.
Even the iPhone 17’s 256GB minimum fills up fast at those rates.
External drives make more sense economically. A 1TB solid-state drive costs under $100. For context, Apple charges $400 more for the 1TB iPhone versus the 256GB model.
Plus, external drives work across multiple devices. You can keep using the same drive after upgrading phones. Hard disk drives typically last three to five years. Solid-state drives last at least five years, often longer.
Yes, manual file transfers take more effort than automatic cloud backups. But the savings are massive. And you actually own your storage.
My Monthly Backup Routine
I back up photos at least once monthly. Sometimes more often after trips or special events. The process has three main steps.
First, transfer files from phone to laptop. My MacBook has more storage than my iPhone. So it gets a copy of everything.
I use the Photos app’s “Delete items after upload” checkbox. Once the transfer finishes, my phone automatically clears those files.
Second, copy everything to my external SSD. I plug the drive into my laptop and select all newly uploaded photos.
The Photos app sorts by upload date, making this easy. I click the first photo, hold Shift, then click the last photo. That selects the entire batch.
If I have over 500 photos, I split this into chunks of 200-300. Large batches sometimes interrupt the transfer process.
Third, organize files into dated folders. I create a new folder for each backup session. I’ll label it by month (“July 2025”) or occasion (“Trip to London, Summer 2024”).
This simple system works better than complex filing structures. I can find any photo by remembering roughly when I took it.
The Critical Extra Step
Here’s what most people miss: Always make a backup of your backup.
I keep two external drives. One stays at home. The other lives in my desk at work. If one drive fails, I still have my photos on the other.
Hard drives do fail eventually. That’s not a question of if, but when. Redundancy protects against data loss.
This adds one more step to my monthly routine. But it’s worth the peace of mind. My memories exist in three places: laptop, home drive, and office drive.
Limited Access Actually Helps
The main downside of external drives is obvious: I don’t carry every photo in my pocket anymore.
But honestly? That’s fine. I don’t need instant access to every image I’ve ever captured.
Most photos I need regularly live on Instagram or in my email. For everything else, I can wait until I get home to plug in my external drive.
I do keep certain photos on my phone indefinitely. Screenshots of insurance information. Images from family reunions. Photos I enjoy seeing often.

Think of it like the old days. People carried one or two wallet photos of loved ones. Not their entire life history.
This limited selection feels more intentional. More meaningful.
I Own My Memories Now
Manual backups require more effort than automatic cloud sync. No question about that.
But the benefits outweigh the hassle. I spend less money over time. I control my own data. And I don’t worry about companies changing policies or raising prices.
What if Google Photos changes its storage rules again? What if prices jump? What if Google shuts down entirely? (Remember Kodak?)
None of that affects me anymore. My photos live on physical drives I own. Not on someone else’s computer.
There’s one more unexpected benefit. Being responsible for manual backups made me more intentional about taking photos in the first place.
I don’t need to capture every single moment. Most of the time, I can just remember it. And the photos I do take matter more because I’m choosing to preserve them deliberately.
Cloud storage companies designed their pricing to maximize recurring revenue. Not your convenience. Once you’re locked in, they know switching feels painful.
But breaking free is simpler than it seems. Buy a couple external drives. Set up a monthly backup routine. Save hundreds of dollars while actually owning your memories.
The choice is yours.


Comments (0)