
Forgetting your Mac password feels like the worst kind of digital nightmare. One minute you’re typing away like always. The next, your fingers betray you and suddenly your $2,000 machine becomes an expensive brick.
But here’s the thing. Apple actually anticipated this exact scenario. They built multiple backdoors into macOS specifically for people who blank on their passwords. So before you panic or schedule a Genius Bar appointment, take a breath. Your files aren’t gone. You just need the right trick to get back in.
The method that works depends entirely on how you set up your Mac originally. Did you link your Apple ID during setup? Did you enable FileVault? Do you have another admin account? Each path leads somewhere different. Let’s walk through every option so you can break back into your own computer.
Try Your Apple ID First
Most people link their Apple ID during initial Mac setup. If you did, you’re basically one click away from freedom.
Here’s how it works. Enter the wrong password three times on the login screen. After the third failed attempt, macOS asks if you want to restart and view password recovery options. Click yes.
When your Mac reboots, you’ll see a prompt to sign in with your Apple ID. Enter your credentials. Then select the user account you need to reset. Create a new password. Done.
That’s it. No complicated recovery process. No data loss. Just Apple ID credentials and a fresh start.
Some Macs show a slightly different screen with multiple recovery options. You might see buttons for Apple ID reset, recovery key reset, or other methods. Pick whichever works for your situation.
Another Admin Can Unlock Your Account
Sharing your Mac with family or roommates? Another admin user can reset your password in about 30 seconds.
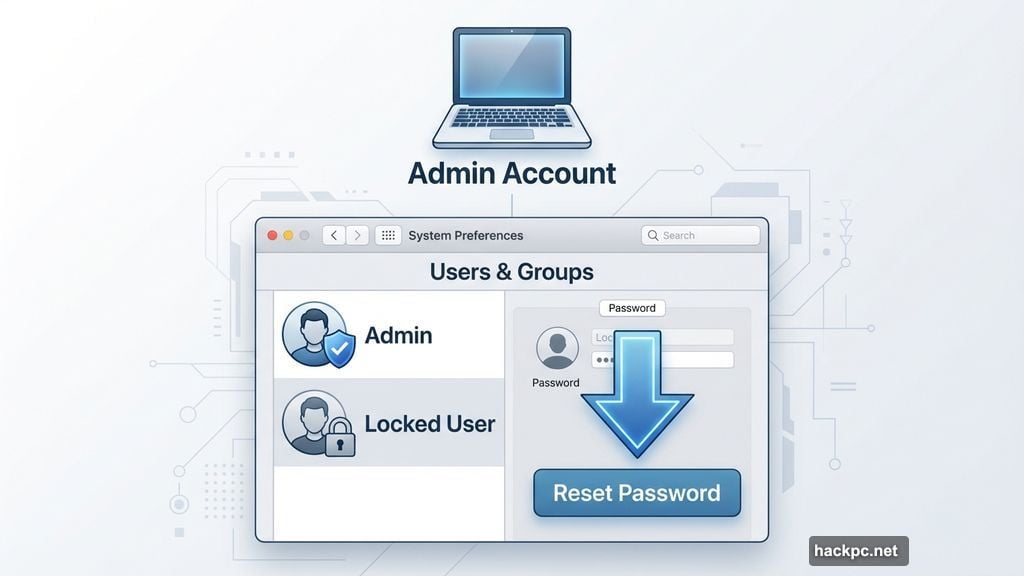
First, check if you actually have admin access. Log into your account and open System Preferences. Click Users & Groups. Look at the account list. Below each username, you’ll see the account type listed. If it says “Admin,” you can reset passwords for other users.
Now click the lock icon and enter your admin credentials. Select the locked-out user account from the list. Click Reset Password. Follow the prompts to create a new password.
Write down the new password somewhere safe. Trust me on this one. You don’t want to repeat this process next week.
Recovery Mode Works When Nothing Else Does
No Apple ID linked? No other admin accounts? Recovery Mode is your backup plan. It requires a few more steps but gets the job done.
Start by completely powering down your Mac. Don’t just close the lid or restart. Actually shut it down from the Apple menu.
What happens next depends on your processor type.
For Intel Macs: Press and hold Command+R on your keyboard. While holding those keys, press the power button. Keep holding Command+R until you see the Apple logo and a progress bar. Release the keys when the progress bar appears.
For M1, M2, and M3 Macs: Press and hold the power button until you see startup options appear. Click Options. Then click Continue.
Your Mac boots into Recovery Mode. This special environment runs independently of your normal operating system. It’s basically Mac’s emergency toolkit.
In Recovery Mode, click Utilities in the menu bar. Select Terminal from the dropdown. A command line window appears. Type resetpassword as one word with no spaces. Press Return.
Close the Terminal window. The Reset Password tool launches automatically. Follow the prompts to select your user account and create a new password.
FileVault Users Have Extra Options
FileVault encrypts your entire hard drive. Most people enable it during initial setup without really thinking about it. If you did, you actually have two bonus password reset methods.
The first happens automatically. Wait about 60 seconds on the login screen after failed password attempts. A message pops up asking if you want to restart into Recovery Mode. Click yes and follow the reset instructions.
The second method uses your recovery key. When you enabled FileVault, macOS generated a long alphanumeric code. You were supposed to write it down somewhere safe. Most of us didn’t do that. But if you did, you’re golden.
After three failed login attempts, you’ll see a prompt asking for your recovery key. Type it exactly as written. Include the hyphens. Use uppercase letters where shown. Submit the key and follow the reset process.
No recovery key saved? No problem. Just use the Recovery Mode method instead.

When All Else Fails, Reinstall macOS
Still locked out? Your last option is nuclear but effective. Reinstall macOS completely.
Boot into Recovery Mode using the methods described earlier. Instead of opening Terminal, look for the Reinstall macOS option. Click it and follow the installation wizard.
This process wipes your Mac clean and installs a fresh copy of the operating system. You’ll lose all files, apps, and settings unless you have a Time Machine backup. So only use this method as a true last resort.
If you do have Time Machine backups, you can restore from backup after reinstalling macOS. The Recovery Mode menu includes a Restore from Time Machine Backup option. Use that to get your files back after the fresh install completes.
Lock Down Your Mac for Next Time
Here’s the uncomfortable truth. Anyone with physical access to your Mac can use these exact methods to break in. That’s by design. Apple can’t build password recovery tools that work for legitimate owners but somehow block thieves.
So what can you do? Enable FileVault immediately if you haven’t already. Store your recovery key somewhere secure. Use a password manager for your Apple ID so you never forget those credentials. Consider adding a firmware password to prevent unauthorized Recovery Mode access.
Most importantly, write down your passwords. I know that sounds old school. But a physical notebook in a secure location beats getting locked out of your own hardware.
Your Mac’s security is only as strong as your backup plan. Create one now before you need it.


Comments (0)