
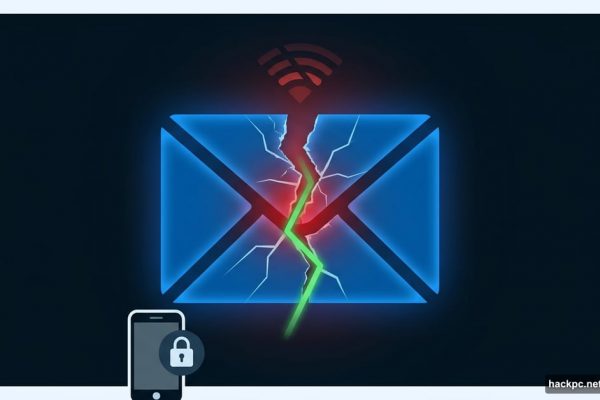
Your front door is on the internet right now. So is your car, your driveway, and possibly your front windows.
Google Maps Street View gives anyone with an internet connection a high-resolution, 360-degree look at your home. Most people don’t realize this until they actually search their own address. And once you see it, it’s hard to shake that uncomfortable feeling.
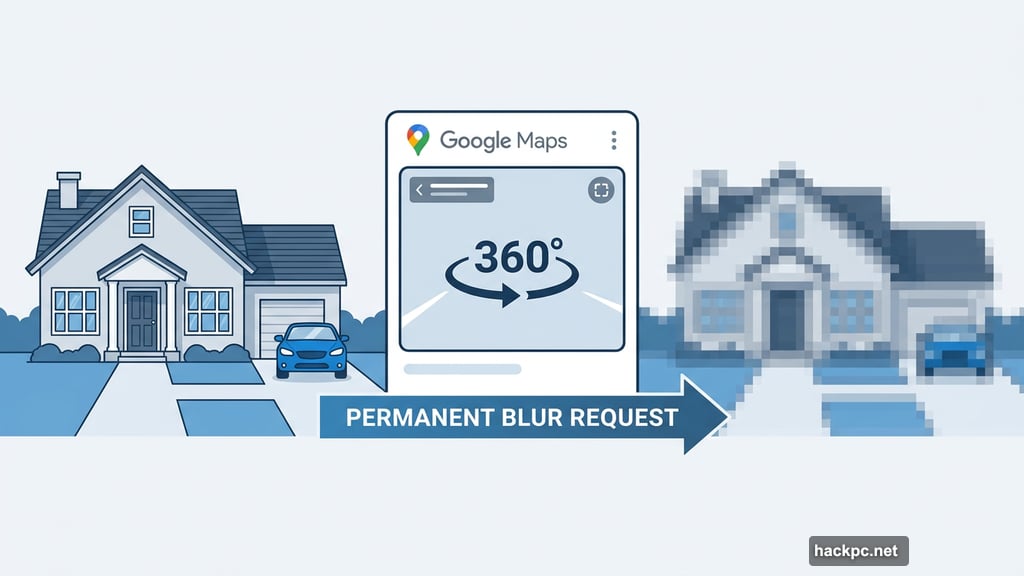
The good news? You can force Google to permanently blur your home from Street View. Here’s how to do it.
Why Street View Feels Like a Privacy Violation
Street View is genuinely useful for checking out a neighborhood before you move or finding a restaurant entrance. But the same technology that helps travelers also puts your private property on public display.
Anyone can zoom into your driveway, check out your windows, or see what car you drive. For most people, that feels like way too much exposure. And Google keeps those images updated, so this isn’t a one-time snapshot problem.
The blur feature exists specifically to address this. Once you submit a request and Google approves it, the blur is permanent. That’s the most important detail here. You can’t undo it, so be intentional about what you want hidden.
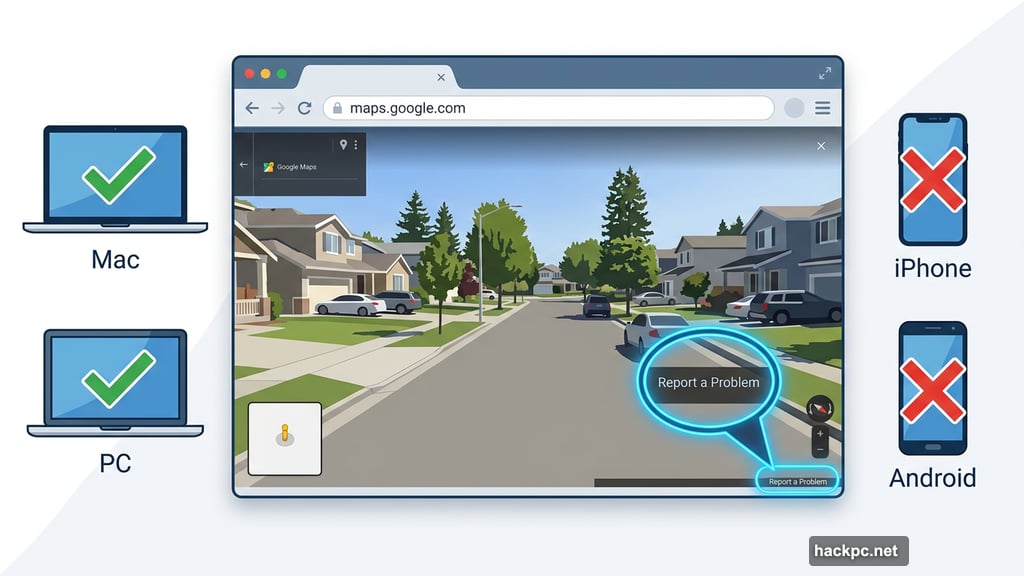
Google Maps Street View Blur: Do This on a Computer
You’ll need a desktop or laptop browser for this. The blur tool isn’t available in the Google Maps app on iPhone or Android. It technically works through a mobile browser, but the interface is tiny and frustrating to navigate.
Open your preferred browser on your Mac or PC and head to maps.google.com.
Start by typing your home address into the search bar. Hit enter, then click the photo of your home that appears in the top-left corner of the page. This opens Street View for your location.
Finding the “Report a Problem” Link
Once you’re in Street View, look at the bottom-right corner of the image. You’ll see tiny text that says Report a Problem. It’s easy to miss since the font is small, but it’s there.
Click it. A new window opens where you control exactly what gets blurred.
Adjusting the View to Cover Your Home
Here’s where you need to pay attention. The blur tool shows your Street View image with a red and black box overlaid on it. Whatever falls inside that box is what Google considers for blurring.
Use your mouse to pan around the image. The plus and minus buttons let you zoom in and out. Your goal is to position the view so that everything you want blurred sits clearly inside that box.
If your home spans a wider area than the default view shows, zoom in using the plus button. That actually expands what the box covers, giving you more control over the final result.
Choosing What You Want Google to Blur
Once your view looks right, you’ll select a category for what you want hidden. Google offers four options:
- A face
- Your home
- Car or license plate
- A different object
After picking a category, you’ll need to provide a bit more detail. If the image has multiple cars, people, or other objects, Google needs context to identify exactly what you’re targeting. Be thorough here. Vague descriptions can slow down the process or lead to a denial.
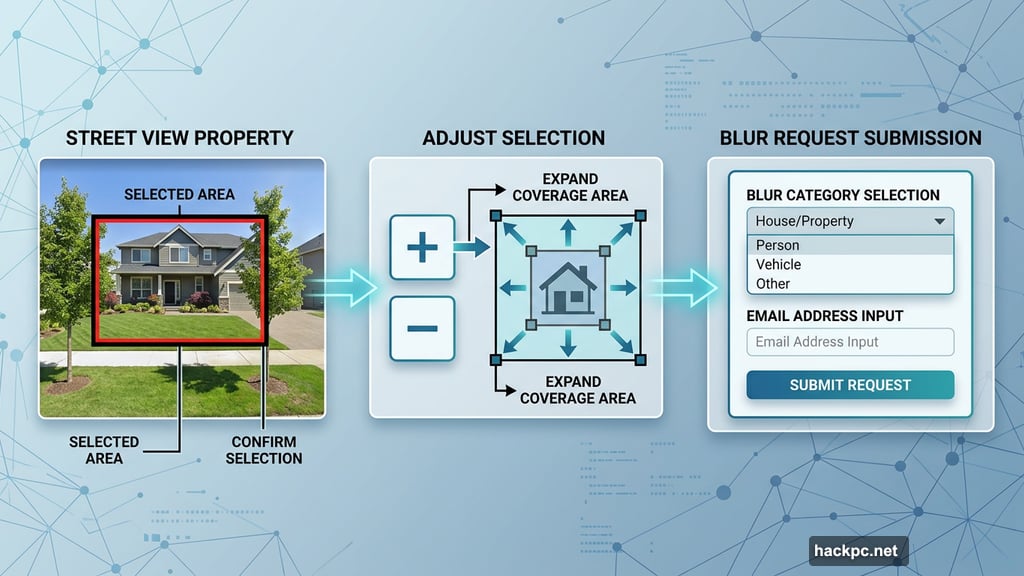
Double-check everything before moving forward. Remember, approved blurs are permanent. There’s no reversal once Google processes your request.
Submitting Your Request
Enter your email address. This is required. Google uses it to communicate updates about your request. Complete the captcha if one appears, then hit Submit.
Shortly after, you’ll get a confirmation email saying Google will review your report. Depending on the complexity of your request, they may follow up asking for more details. Check your inbox regularly and respond quickly if they reach out.
Google doesn’t publish a timeline for how long reviews take. Some requests process within days. Others take weeks. The safest move is to submit and then keep an eye on your email.
What Happens After Approval
If Google approves your request, your home gets blurred in Street View. That blurred state is then permanent across all future updates to that imagery. Even if Google’s Street View cars drive through your neighborhood again and capture new photos, your home stays blurred in the updated imagery.
It’s a genuinely useful privacy tool, and it costs nothing to use. If you’ve ever felt uneasy about your home being visible to strangers online, this is the fix.
A few minutes of setup now means your property stays private on one of the most visited websites in the world.

Comments (0)