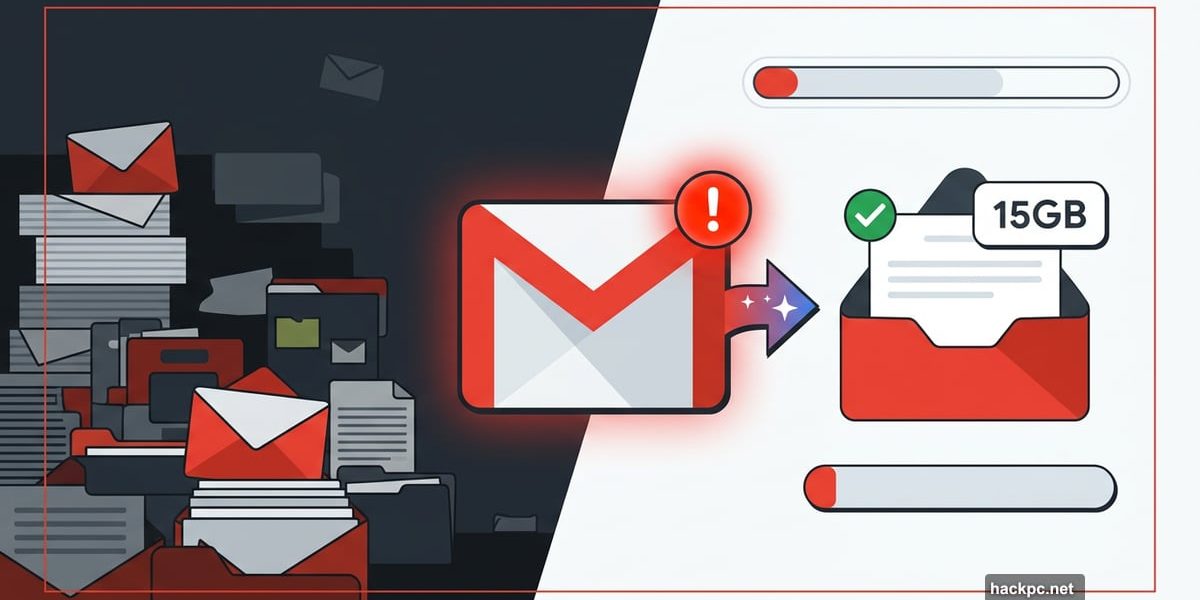
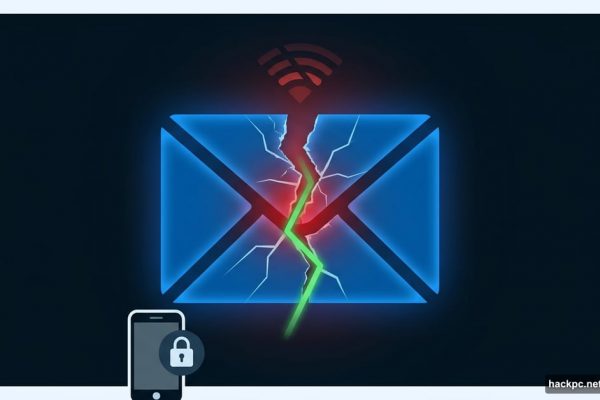
Your Gmail is full. Again. That little red warning banner keeps showing up, and you’re not about to spend a weekend deleting 50,000 old emails to fix it.
Good news: you don’t have to. There’s a clever workaround that gives your main Gmail account a completely fresh start without touching your Google One subscription or throwing anything away permanently. Think of it like moving years of digital clutter into a free storage unit across town. Everything stays safe, and your inbox feels brand new.
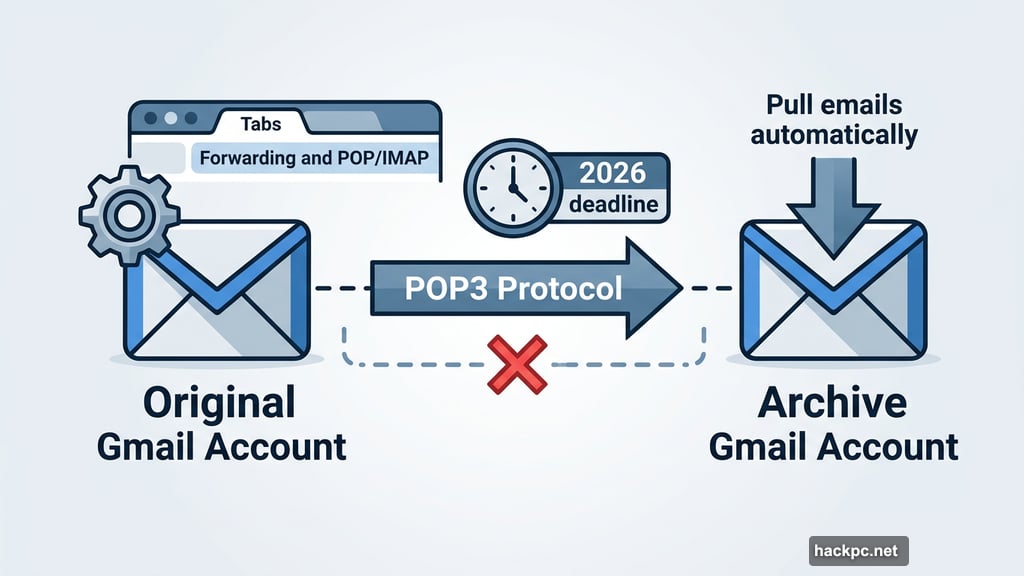
The catch? You need to move fast. Google is ending support for POP3 (the protocol that makes this whole trick work) sometime in 2026. New users already lost access in Q1 2026, and existing users will lose it later this year. So if you want to pull this off, now is the time.
Here’s exactly how to do it.
Why Gmail Runs Out of Space So Fast
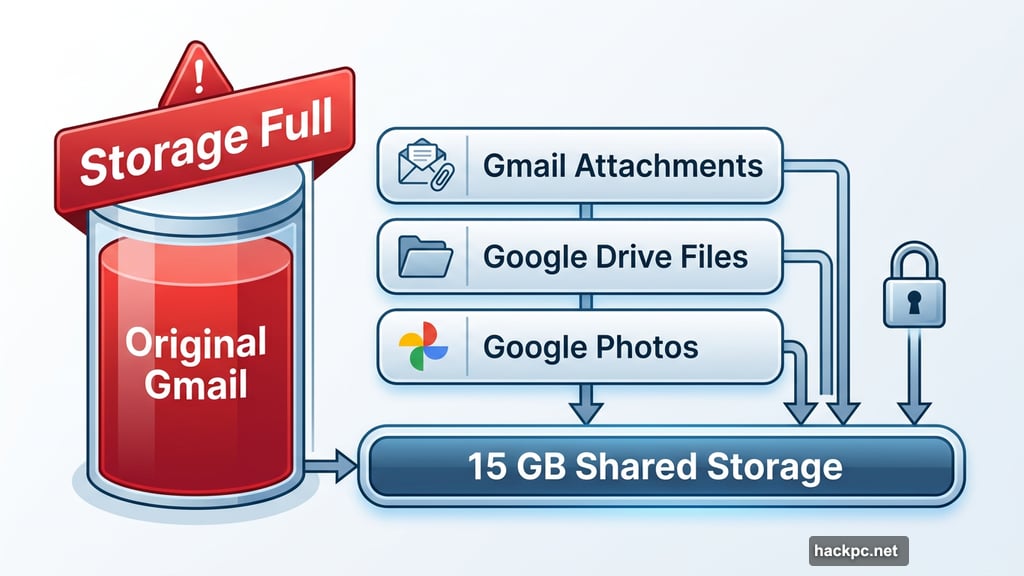
The 15 GB Google gives you sounds generous when you first sign up. But that storage doesn’t belong to Gmail alone.
Every file in Google Drive, every photo in Google Photos, and every email attachment in Gmail all share that same 15 GB pool. If you back up your phone photos automatically or store work documents in Drive, your email storage gets squeezed fast.
When the account hits its limit, things stop working. You can’t send or receive new emails. Your phone stops syncing. And every app connected to that Google account starts throwing errors.
The paid fix is simple: upgrade to Google One for $20 a year and get 100 GB. But why pay for storage to hold old emails you probably don’t even need anymore? Instead, let’s move them somewhere free.
The Setup: Two Accounts, Zero Cost
The strategy works like this. You create a fresh Gmail account (your “archive” account) and connect it to your original account using POP3. Gmail then pulls every email from your main account into the archive automatically. Once the transfer finishes, your original inbox drops to near-zero storage usage.
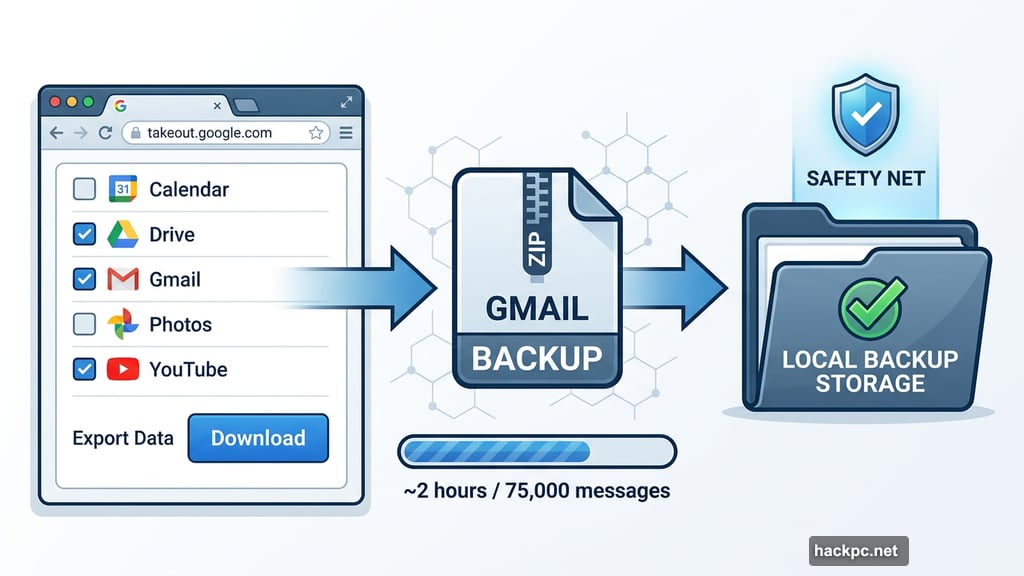
Before starting anything, back up your emails first. Go to Google Takeout and download a copy of everything. With about 75,000 messages in a test account, the download took roughly two hours. It’s worth doing. Once the transfer is complete, you can delete the backup if you want. But having that safety net during the process is smart.
Step One: Enable POP3 on Your Original Account
First, you need to turn on POP3 access in your main Gmail account. POP3 (Post Office Protocol) is the older email protocol that lets one email client pull messages from another. It’s exactly what makes this storage trick possible.
Log into your original Gmail account and click the gear icon in the top right corner. Select See all settings, then choose the Forwarding and POP/IMAP tab. Under POP Download, select Enable POP for all mail.
Next, look at the “When messages are accessed with POP” dropdown. Choose Delete Gmail’s copy so your original account automatically clears out messages after they transfer. Then hit Save Changes.
Step Two: Create Your Archive Account
Now create a brand new Gmail account. This becomes your permanent email archive. After creating it, log in and go back into Settings via the gear icon.
Select the Accounts and Import tab. Next to “Check mail from other accounts,” click Add a mail account. Enter your original Gmail address in the popup window and click Next.
Choose Import emails from my other account (POP3) and click Next again. You’ll be asked for your original account’s password. Here’s where most people hit a wall.
The App Password Problem (and the Fix)
Standard Gmail passwords usually don’t work for this POP3 sync process. In testing with two separate accounts, the regular password failed both times.
The solution is a Google App Password. These are special 16-digit codes that let “less secure” connections access your Google account. They bypass the usual two-factor authentication flow that blocks POP3 syncing.
To create one, visit myaccount.google.com/apppasswords. You’ll need 2-Step Verification already enabled on your account. Give the password a name (something like “Email Transfer” works fine), then click Create. Google generates a 16-digit code in a popup window.
Write it down immediately. Google only shows it once. If you close that window without copying it, you’ll need to delete the password and create a new one.
Use this app password instead of your regular password during the account linking steps.
Finishing the Connection
Back in your archive account settings, continue the setup. Set the port to 995, then check these three boxes:
- Always use a secure connection (SSL) when retrieving mail
- Label incoming messages
- Archive incoming messages (Skip the Inbox)
Click Add Account, then select Yes, I want to be able to send mail as [your original Gmail address] when prompted. You can close the popup after that step.
What Happens Next (and How Long It Takes)
Once the accounts are linked, Gmail starts transferring messages automatically. For an account with 75,000 emails, the full transfer took about two full days. Smaller inboxes finish faster. Just let it run in the background.
Important: after the transfer completes, your original Gmail account moves all those messages to its Trash folder. They don’t disappear automatically. You need to empty the Trash manually. With 75,000 messages, clearing the Trash took about an hour in testing.
After all that work, the test account dropped from 12 GB of usage (about 80% full) down to just 0.66 GB. That’s an almost completely clean slate on free storage.
One thing to note: Drafts and Spam messages don’t transfer. You’ll need to handle your Drafts folder manually. Spam auto-deletes every 30 days anyway, so you can either let Gmail handle it or clear it yourself after the transfer.
Wrapping Up: The Last Two Steps
Once the transfer finishes, you need to stop the automatic syncing so your original account can go back to normal operation.
Log into your archive account, go to Settings > Accounts and Import, and click Delete next to your original account under “Check mail from other accounts.” Confirm the deletion when prompted.
Also delete the app password you created. Go back to myaccount.google.com/apppasswords and click the trash icon next to the password you made. Google’s own documentation notes that app passwords “aren’t recommended and are unnecessary in most cases,” so removing it after you’re done is the right call.
One final thing to keep in mind: Google deletes inactive accounts after two years. Your archive account needs at least a brief login every couple of years to stay alive. You don’t have to use it actively, but you do need to sign in occasionally to prevent automatic deletion.
That’s it. Your original Gmail account has a fresh 15 GB to work with, your old emails are safe in the archive, and you paid exactly nothing for the extra breathing room. Given that POP3 support is disappearing later this year, running through this process sooner rather than later is the smart move.


Comments (0)