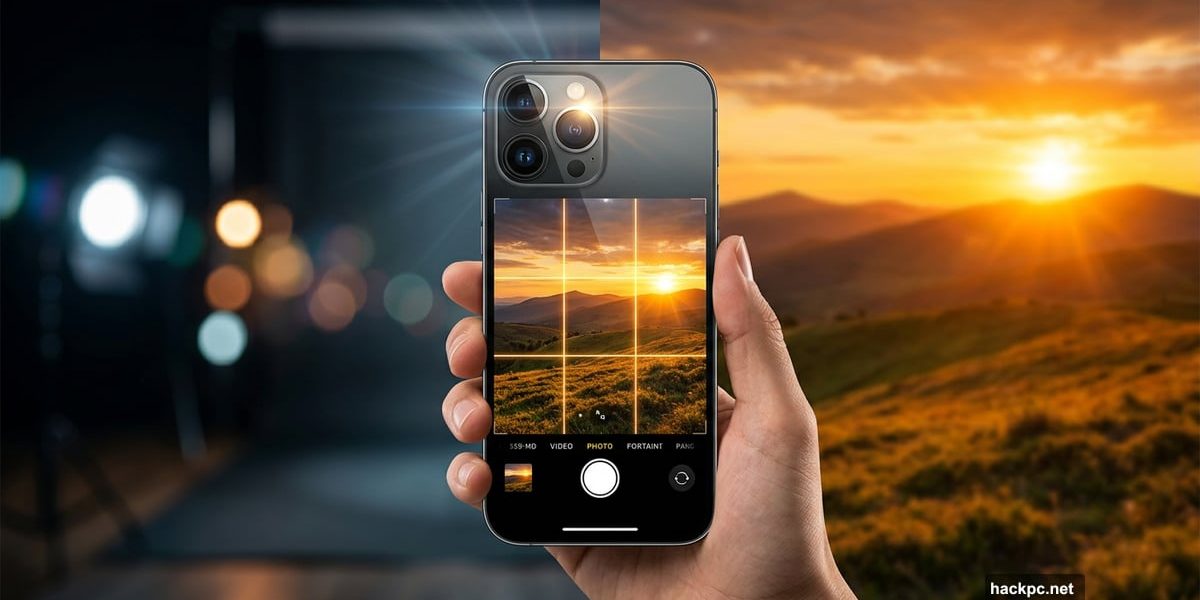
Smartphone cameras have come a long way. The best ones in 2026 are packed with smart tech that almost guarantees a decent shot just by pointing and tapping. But “decent” and “stunning” are very different things.
I’m a professional photographer, and I regularly bring my iPhone on real photoshoots. The iPhone 17 Pro especially has impressed me. Over the years, I’ve pushed iPhone photos from casual Instagram snaps into award-shortlisted work. And the good news? Most of what I do comes down to technique, not gear. So whether you have the latest Pro model or something a few generations older, these tips will help.
Let’s get into it.
Pick the Right Lens for Each Scene
Most people just tap between wide, ultrawide, and zoom without really thinking about why. That’s where the magic gets left on the table.
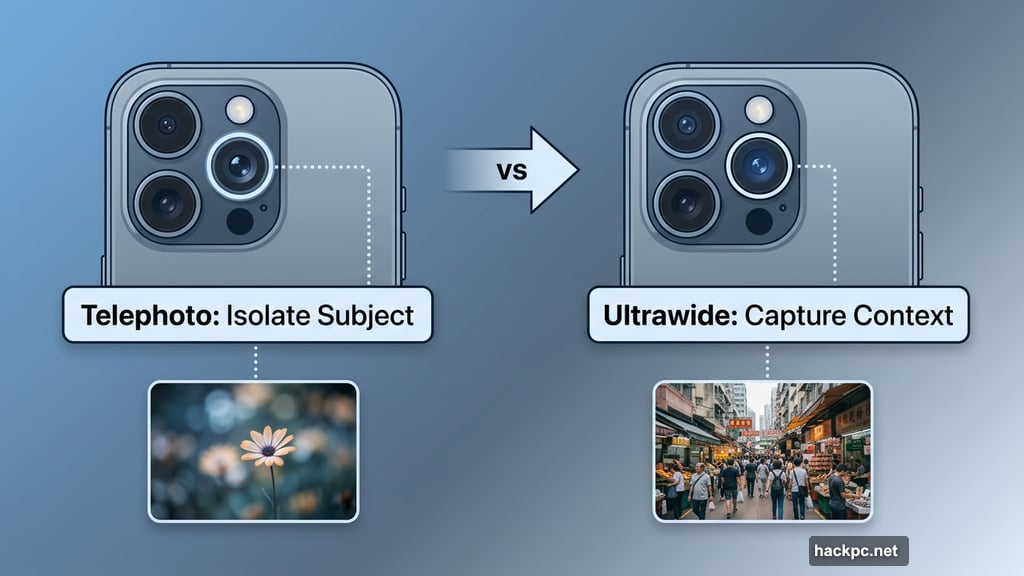
Start by asking yourself what matters most in the scene in front of you. Is there one clear subject surrounded by clutter? The telephoto lens on the iPhone 17 Pro is great for isolating that subject and cutting out distractions. You might need to step back a little, then zoom in, but the result is a cleaner, more focused composition.
On the other hand, sometimes the surroundings are the whole point. Maybe you’re in a dramatic landscape or a busy street market where context matters. In that case, the standard or ultrawide lens lets you keep everything in frame. Just be mindful of your subject getting lost. Move closer and look for interesting foreground elements, like flowers, rocks, or textures, to anchor the shot.
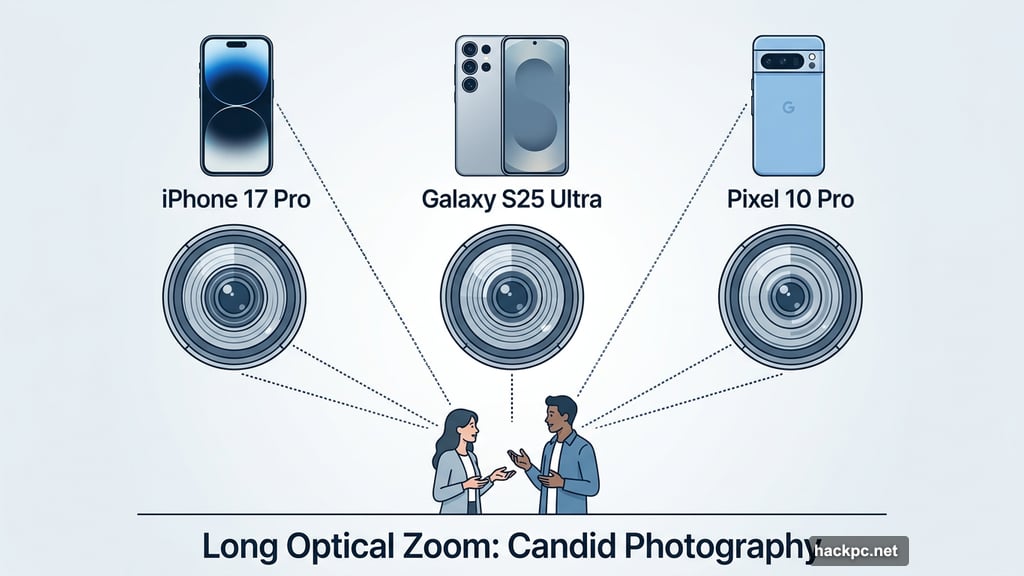
Longer optical zoom lenses, like those on the iPhone 17 Pro, the Galaxy S25 Ultra, or the Pixel 10 Pro, are also brilliant for candid photography. You can capture natural, unposed moments without hovering awkwardly close to your subject.
Master Composition with the Rule of Thirds
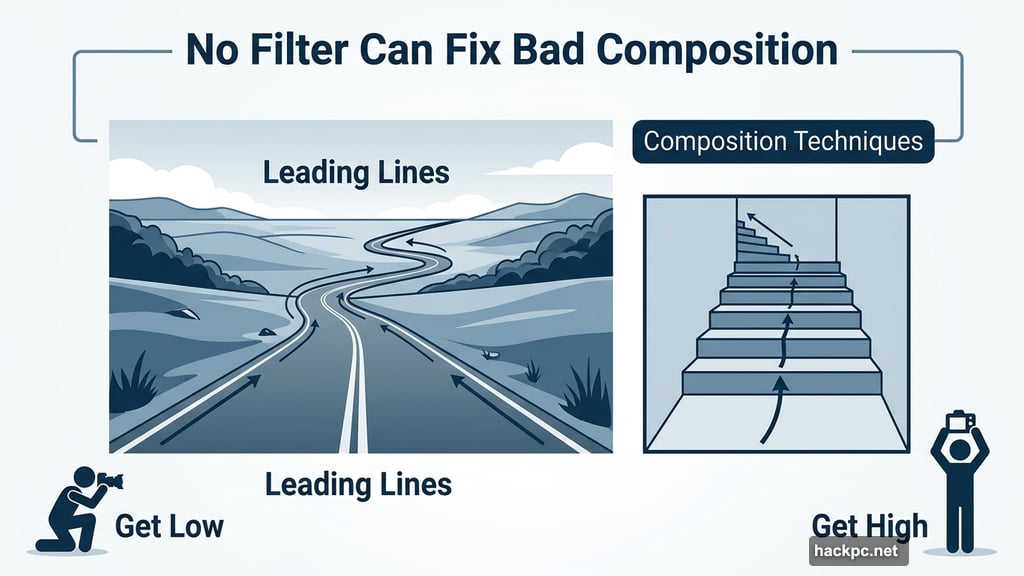
Here’s the truth about editing: it can fix exposure, rescue colors, and smooth out rough patches. But it cannot fix bad composition. If the elements in your frame aren’t arranged well, no filter will save it.
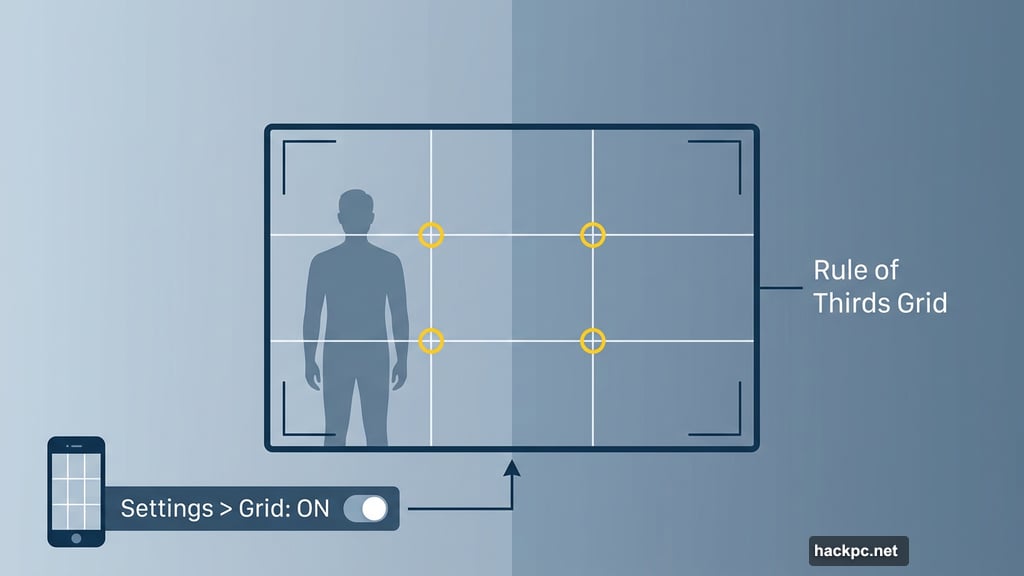
The rule of thirds is the easiest place to start. Imagine your frame divided into a three-by-three grid. Place your main subject along one of those lines, or at an intersection point, rather than dead center. It creates a natural, pleasing balance that just works.
Turn on the composition grid in your iPhone camera settings. I shoot with it on every single time. It takes about two seconds to enable and makes a real difference to how you frame your shots.
Also look for leading lines. Roads, fences, staircases, and riverbanks all draw the eye deeper into a scene. They create a sense of depth and give viewers a visual path to follow. And once you understand the rules, feel free to break them. Negative space, intentional imbalance, and abstract angles can all make for genuinely striking images. Get low, get high, tilt the phone, try something odd. You might surprise yourself.
Shoot at the Right Time of Day
Lighting is everything in photography, and the one thing you can’t fully control. But you can plan around it.
Photographers love the golden hour for a reason. In the hour after sunrise and before sunset, the sun sits low and casts long, warm, dramatic light. Skies often turn spectacular shades of orange and pink. Scenes that look flat and ordinary at noon can look absolutely magical at these times.
Do a bit of research before visiting a location. Work out which direction the light will come from at different times of day. Then plan your visit accordingly. It’s worth getting up early on holiday to catch a sunrise at a great viewpoint.
That said, don’t write off other conditions. Harsh midday sun creates bold shadows and high contrast, which works brilliantly for urban and street photography. Overcast days give soft, even light that’s flattering for portraits. Rain turns city streets into mirrors, reflecting signs, headlights, and shop windows in ways that look almost cinematic. Some of my favorite shots were taken in weather most people would stay indoors for.
Night Mode Makes Darkness Your Friend
When the light disappears, many people put their phones away. Don’t.
The iPhone 17 Pro has one of the strongest Night modes of any smartphone on the market. It handles low-light scenes with impressive sharpness and color. City streets at night are genuinely exciting subjects. Neon signs, car headlights, festive lights, illuminated shop windows, all of these create vivid, layered scenes that Night mode handles beautifully.
And if it’s raining? Even better. Wet streets reflect all those light sources, multiplying the visual interest in your shot. The iPhone 17 Pro is also IP68 rated, so shooting in light rain won’t harm it.
Take Manual Control of Exposure
The iPhone’s automatic mode is smart, but it’s designed to produce a “correct” image. That means balanced tones, reduced shadows, and clipped highlights. That’s fine for casual shots. But drama in photography often comes from contrast, not balance.
Some of my favorite images are intentionally underexposed. Deep shadows, a single highlighted subject, a moody low-key feel. You can achieve this on any iPhone by tapping on your subject to focus, then sliding the small sun icon downward to reduce exposure. The result is darker, moodier, and far more striking than what the automatic mode would give you.
This technique works especially well for silhouettes or scenes with strong backlighting. A person walking into bright sunlight, for instance, can become a bold graphic shape against a glowing background. But only if you override what the phone thinks is correct. You’re the photographer. The phone is just the tool.
Edit Your Photos to Find Your Style
Getting a good shot is only half the process. Editing is where you develop your own visual voice.
I do most of my editing in Adobe Lightroom, which gives detailed, professional-level control over exposure, color, tone curves, and more. For iPhone-first editing, Darkroom is excellent and offers a wide range of filmic styles that look genuinely great. Google’s Snapseed is free on both iPhone and Android and is a solid choice for beginners who want straightforward controls without a steep learning curve.
My personal approach is fairly restrained. I adjust exposure, fine-tune colors, and sometimes convert to black and white for a punchier, more atmospheric result. But there’s no wrong approach here. Some photographers love bold, saturated looks. Others prefer desaturated film tones. The goal is to find what resonates with you.
One practical tip: shoot in Apple’s ProRaw format if you plan to edit seriously. ProRaw captures significantly more image data than a standard JPEG, which gives you far more flexibility when adjusting exposure and color afterward. Apple’s built-in Photographic Styles are also worth exploring if you want consistent color toning applied automatically without touching an editing app.
And remember, editing is non-destructive. Playing with sliders never deletes your original file. So experiment freely, and if you don’t like what you’ve created, just reset and start again.
The best way to improve is simply to spend time doing it. Make a cup of tea, get comfortable, and scroll back through your camera roll. You’ll be amazed what you can do with photos you’ve already taken.


Comments (0)